Step by Step Art. G.I. Joe Baroness One-shot! In February...

(or one of them) went...
Started off with a basic line drawing I did up, regular size so I can get more of a handle on it. I then blew it up & transposed it to a large toned sheet of Reeves paper.


I wrote a comment for this one twice already actually, but it's been failing to load so I keep losing it.

Suffice to say, here's the basic scan, just with a little hint of a photo mouth and nose (from a bunch I keep on file) plus a little airbrushing to flesh out and add a little realism to the faces. I do that often.

Next up I just go about darkening and lighting the image via some dodge and burn. Apart from anything it brings out the natural painty texture stuff I have going on in the original. I also drop an overlay of an old photo I took of a concrete floor, since I like the crack lines it has.
This was my first final in colours. I work tonally pretty much, and blend everything in in stages. Kind of a big fan of coloured lighting that gives hues to everything.
Only, uh, problem was...I accidentally saved over the image as a jpeg only. Not really the best if you want to go to print...so I had to redo it...in the next image. This one is lost to the ether!

The err..."final" final... I couldn't replicate the initial colours I came up with...but I don't mind this one either. A bit warmer, probably stand out on a shelf a little more perhaps.
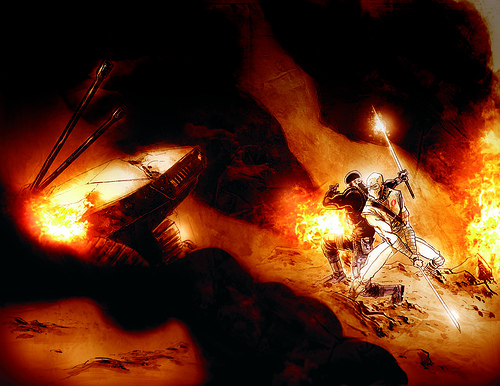
GI Joe Wraparound before and after...

Since the Baroness went down so well, not sure if I ever showed any WIP for the other one I did, so here's a before and after.
This is pretty much the original but I had already started to add photo bits of smoke in which I then darkened up, just to add some volume kinda to the billowing smoke. Apart from that it was all tonal colour & selective little dodge and burning highlights.
